
When you start your own online business, you need to wear a lot of different hats. One of them is being a Photographer. The product photos you use on your website greatly influence sales. Professional photos make your business more trustworthy and it helps customers with their buying decisions. Luckily, you don’t need to have a photography degree and you don’t need to buy crazy expensive equipment.
Here’s what you need to consider to take beautiful product photos and some product photography tips.
What Images to Show On Your Product Page
Before we dive into how to take product photos, let’s take a look at what photos you should show on your product page. The main picture on your product page is the featured product image. This photo should show clearly your product, usually on a white background.
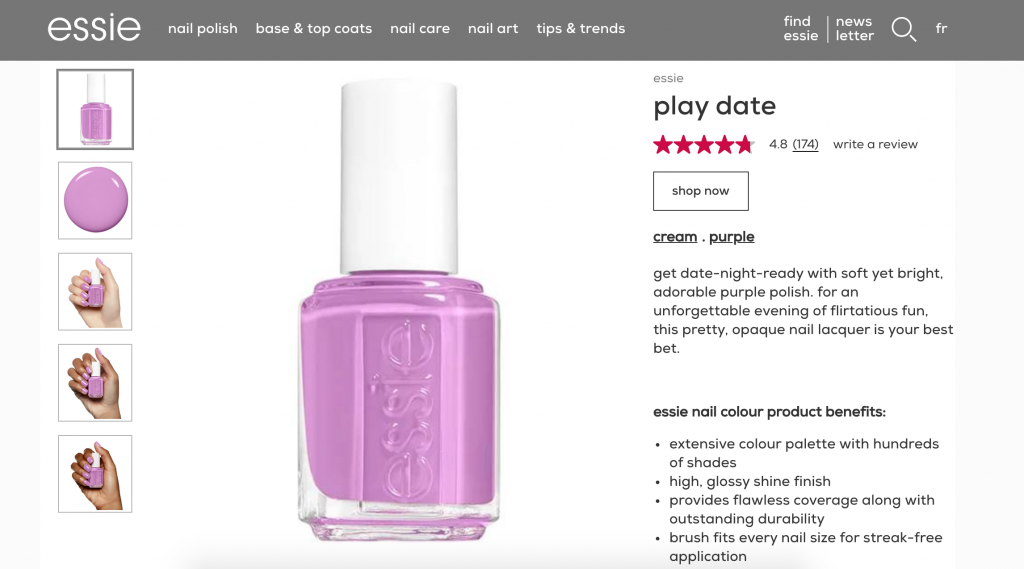
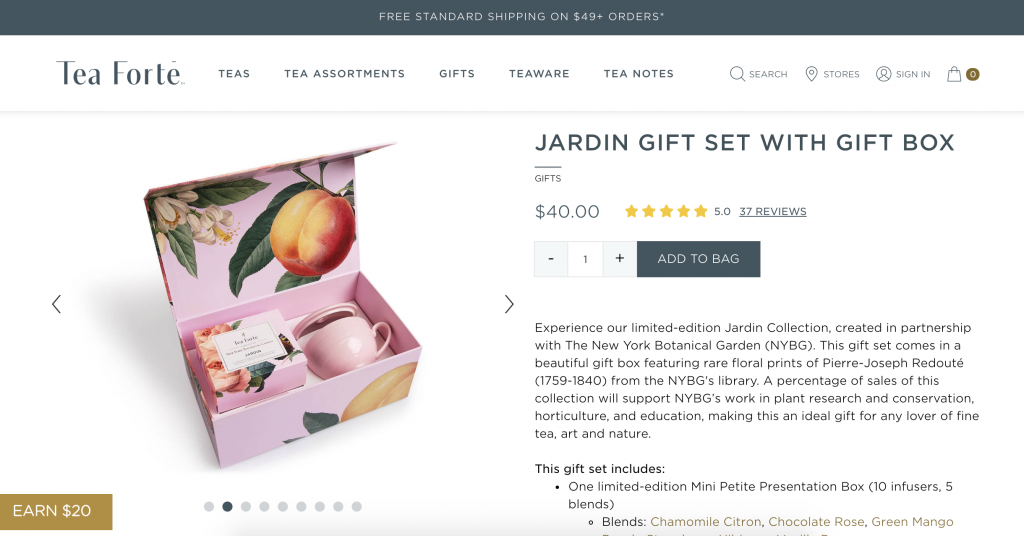
Adding additional images helps to show everything the customer needs to know about the product. Take pictures of your product from different angles and highlight details, like the texture. If you’re offering a gift item that comes in a pretty box, make sure to include a picture of the packaging.
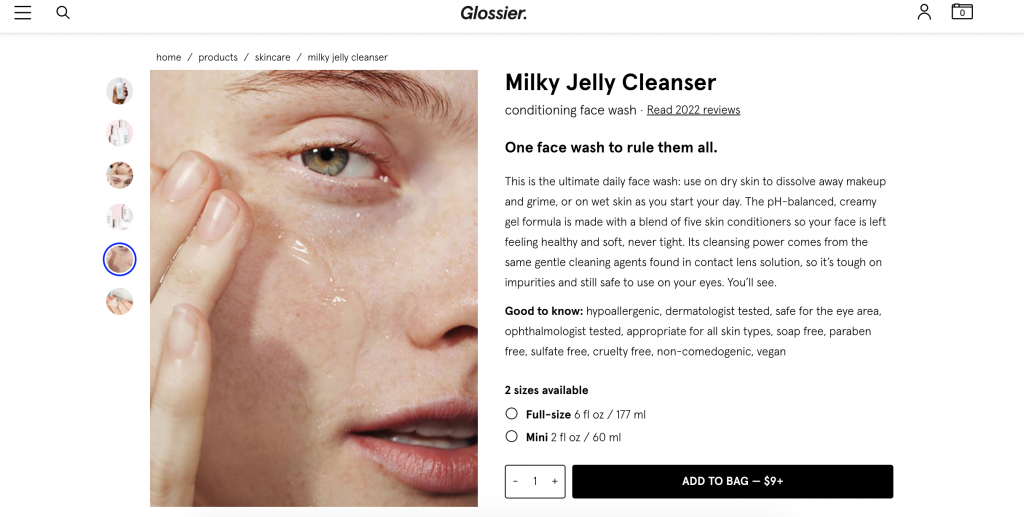
Some brands also add a lifestyle photo. This shows how the product is used or adds additional context to the product.
You can make the product listing even more dynamic by adding a video. Asos, an online retailer, for example often include a short video of a model wearing the clothes. Many customers don’t want to spend their time reading through the product details. You can help them understand important product aspects by adding information to your photos. For example, If you’re selling furniture you can add the dimensions to one of your product photos.
What You Need To Take Product Photos
- Camera
- Tripod
- Lighting
- Background
Camera
Using a good camera is important to catch all the product details and to get the lighting right. Now would be the point where I’d list a bunch of super-expensive cameras. The truth is, most modern smartphones, like the Google Pixel or iPhone 11, come equipped with cameras that are good enough to take great product photos. Just take a couple of test images with whatever camera you have at home and see what gets you the best result. I personally use the Nikon XYZ.
No matter what camera you choose, don’t use flash, keep the camera lens clean and don’t zoom into the product. You can crop parts of the image later.
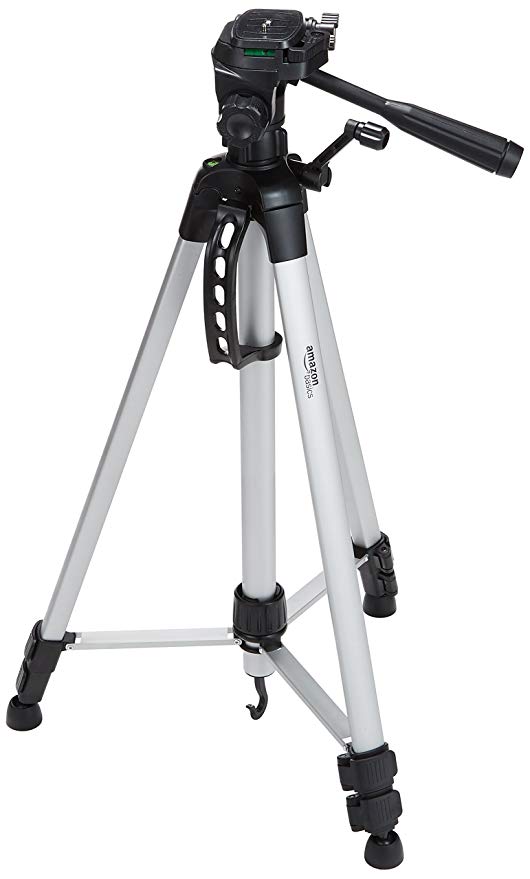
Tripod
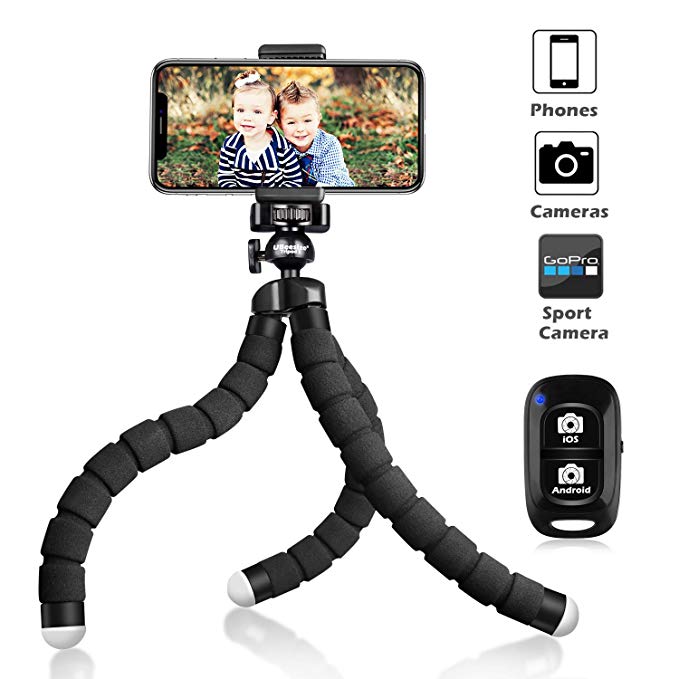
A tripod gives you the focus and stability you need to take nice product photos. It makes sure that the pictures aren’t blurry. When you keep the set up always the same you’ll get standardized images for more consistency. Your product photos will look more alike and your website will look more professional. If you’re using your phone to take pictures, you might need to get a grip adapter for the tripod.
Lighting
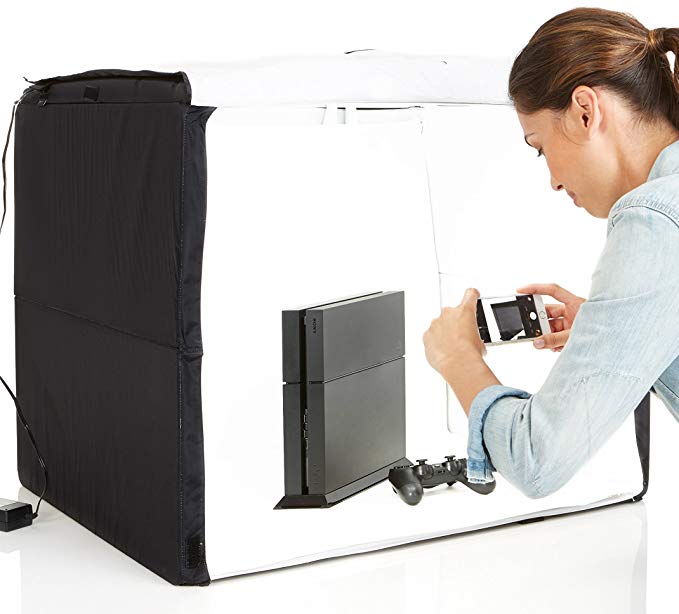
Lighting is another important part to get great product photos. Getting the lighting right makes editing your images later so much easier. You have two choices when. The first is using natural daylight. You can set your “studio” up near a window. Taking pictures early in the morning usually gives you nice lighting. Alternatively, you can use artificial light by getting a lighting kit. Getting the settings right for those can be a little tricky. To make life a bit easier, I like to use a photo box to photograph smaller products. The box comes with build-in lighting and already has a white background. Easy Peasy. Either way, make sure that the lighting doesn’t create any harsh shadows. Those can be difficult to edit later.
Background
To get a cohesive appearance throughout your products, use a white background. It gives your images a clean look and keeps the focus on the product. Putting your product in front of a white wall won’t do it though. You’ll end up seeing little textures and bumps. Instead, use a flat surface.
One cheap option is white craft paper that you can switch out whenever it gets dirty. Also, colored craft paper is great to take awesome product pictures for your social media channels.
Photo Editing
When you’re done taking photos, it’s time for editing to make them look perfect. Even though you use a white background, it often comes out as very light grey and you might have a bit more shadow on the picture than you wanted. You can learn a couple of simple product photo editing techniques for PhotoShop through free YouTube videos. There are really just a couple of things you’d need to learn, like how to remove the background.
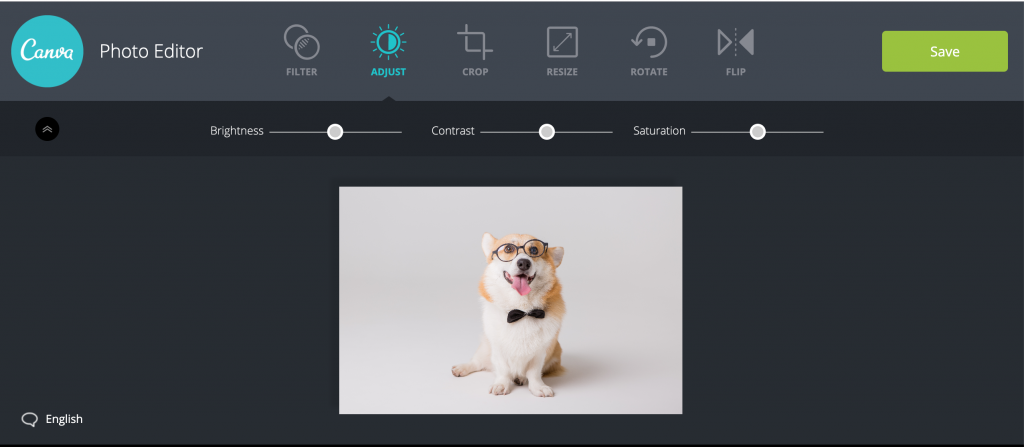
Alternatively, you can play around with some free editing software like Canva, and Fotor. Here you can do some basic photo editing like making the image lighter, changing the saturation or contrast, and cropping.
Another option is to hire a professional. You can find freelancers on Fiverr that can help you create consistent product images. Another website I heard good things about is Pixelz. Here it costs $1.45 per edited image.
Image Sizes
The last step to get your product photos ready for your shop is to fix the image sizes. It’s important to always take a large picture and to resize or crop afterward. That way you’ll get a crisp picture. Some shop templates come with a zoom-in feature. Make sure your images don’t look blurry or pixelated when customers zoom into the product. Each shop template also has different image size requirements. You might have to resize your images to fit your template. Don’t upload gigantic pictures. Large files can slow down your website, which can be a turn off for customers.
You don’t need to break the bank when you want to take awesome product photos. Just work with what you have at home and set up your own little studio. Keep notes of your studio set up so you can get consistent photos. You’ll learn as you go and find new photography techniques that make your products stand out. Over time you can adjust and build out your photography equipment.
If you’re still unsure what to sell and where to get the product from, check out this article about how to source your product.